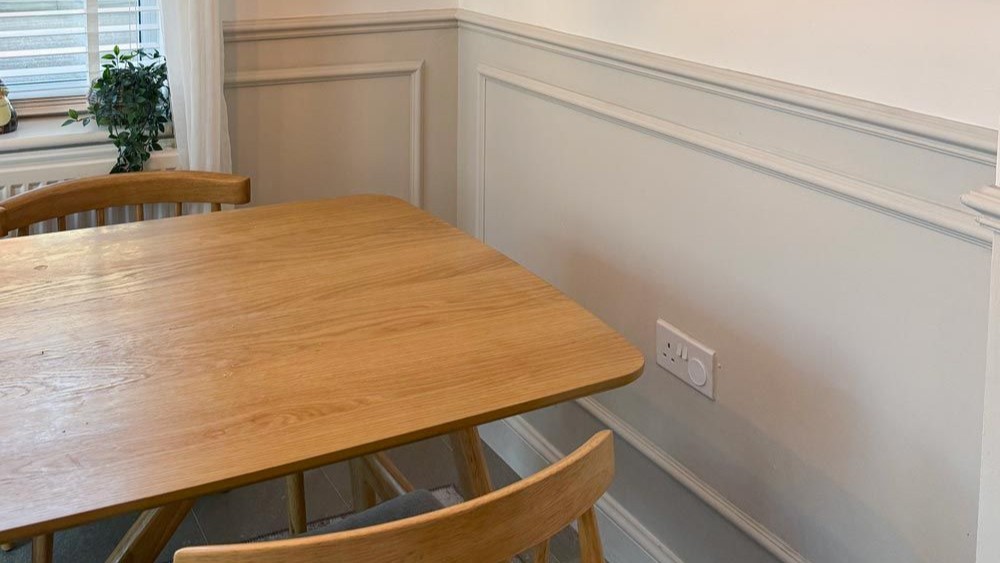
Image credit @Honestmumjade
Wall panelling has become a popular way to bring character, texture and architectural interest into the home. But while a single feature wall can make a statement, extending panelling across multiple walls can completely transform the look and feel of a room.
From elegant Shaker-style designs to contemporary V-groove finishes, wrapping panelling around a room creates a beautifully cohesive look, giving even the simplest spaces a bespoke feel.
However, achieving a seamless finish takes careful planning, particularly when it comes to measurements, spacing and navigating corners.
And now British made-to-measure interiors brand Cut My is sharing its expert advice to help homeowners achieve professional-looking results without the expense of hiring a tradesperson.
James Bryant, Founder of Cut My, said: “Panelling multiple walls is a brilliant way to give a room a sense of character and continuity. Rather than having one feature wall that stands apart, carrying the same design around the room creates a much more cohesive and luxurious finish.
“It’s also a project many homeowners can tackle themselves. The secret is in the preparation. Taking time to get your measurements and spacing right before you start will make all the difference.”
Here, James shares his five essential tips for panelling multiple walls.
- Plan your design
Before ordering anything, think about how the panelling will flow around the room. Shaker-style panelling creates a classic, elegant look, while V-groove designs offer a more contemporary finish.
James said: “You’ll also need to decide whether to order separate panelling kits for each wall or one combined kit. Individual kits are easier to manage, but the spacing may vary slightly between walls. A combined kit can create a more consistent pattern, although you’ll need to cut the pieces to fit.”
- Measure carefully
Accurate measurements are essential. Measure each wall from corner to corner, taking into account existing skirting boards and dado rails.
James said: “One detail that’s easily overlooked is the thickness of the panelling. When two panelled walls meet at an internal corner, the first panel reduces the available width of the adjoining wall.
“For example, if you’re using 9mm-thick panelling, you may need to deduct 9mm from the adjoining wall’s measurement. It’s a small adjustment that can prevent awkward gaps during installation.”
- Keep your spacing consistent
One of the biggest mistakes is treating each wall as a completely separate project. With Shaker panelling, the distance between the vertical battens is particularly important, as inconsistent spacing can become noticeable where walls meet. The same applies to V-groove panelling, where the grooves should ideally flow evenly around the room.
James said: “My advice is to plan the spacing across the entire room before you begin. That little bit of extra preparation will make the finished result look much more professional.”
- Pay attention to corners
It’s often the finishing touches that make panelling look truly bespoke, particularly when you’re working around corners.
James said: “If you’re installing half-height panelling, a dado rail creates a beautiful finishing edge and helps tie the design together.
“Where two rails meet at a corner, you’ll generally need to make carefully measured 45-degree mitre cuts to create a neat joint. I’d recommend ordering dado rails separately when panelling multiple walls, as this gives you more flexibility.”
- Take your time with installation
Before fixing anything to the wall, lay out your panels and mark their positions using a pencil, tape measure and spirit level. Check everything aligns correctly, particularly around corners.
Once you’re happy with the layout, secure the panels using a suitable adhesive, following the installation instructions. Fill any gaps, apply decorators’ caulk where needed and prepare the surface before painting.
James said: “For a beautifully unified look, consider painting the panelling and surrounding walls in the same colour. This creates a sophisticated, built-in appearance that helps the whole room flow together.”
Cut My offers a wide range of made-to-measure wall panelling, including traditional Shaker designs, V-groove panels and contemporary slat styles.
With panels cut to individual specifications and an online visualiser to help plan the design, homeowners can achieve a bespoke finish with minimal fuss.
Cut My’s range of made-to-measure wall panelling solutions are available now.